Using WP Mail SMTP as your email delivery solution?
In our blog, we are!
WordPress not sending emails is one of the common WordPress errors out there. For fixing that, the folks from Awesome Motive created this beast the WP Mail SMTP.
WP Mail SMTP can be integrated with so many email services like SendGrid, Mailgun, etc… Well, in this post, we are going to show you that how can you integrate WP Mail SMTP with Amazon SES and send out a test email to verify!
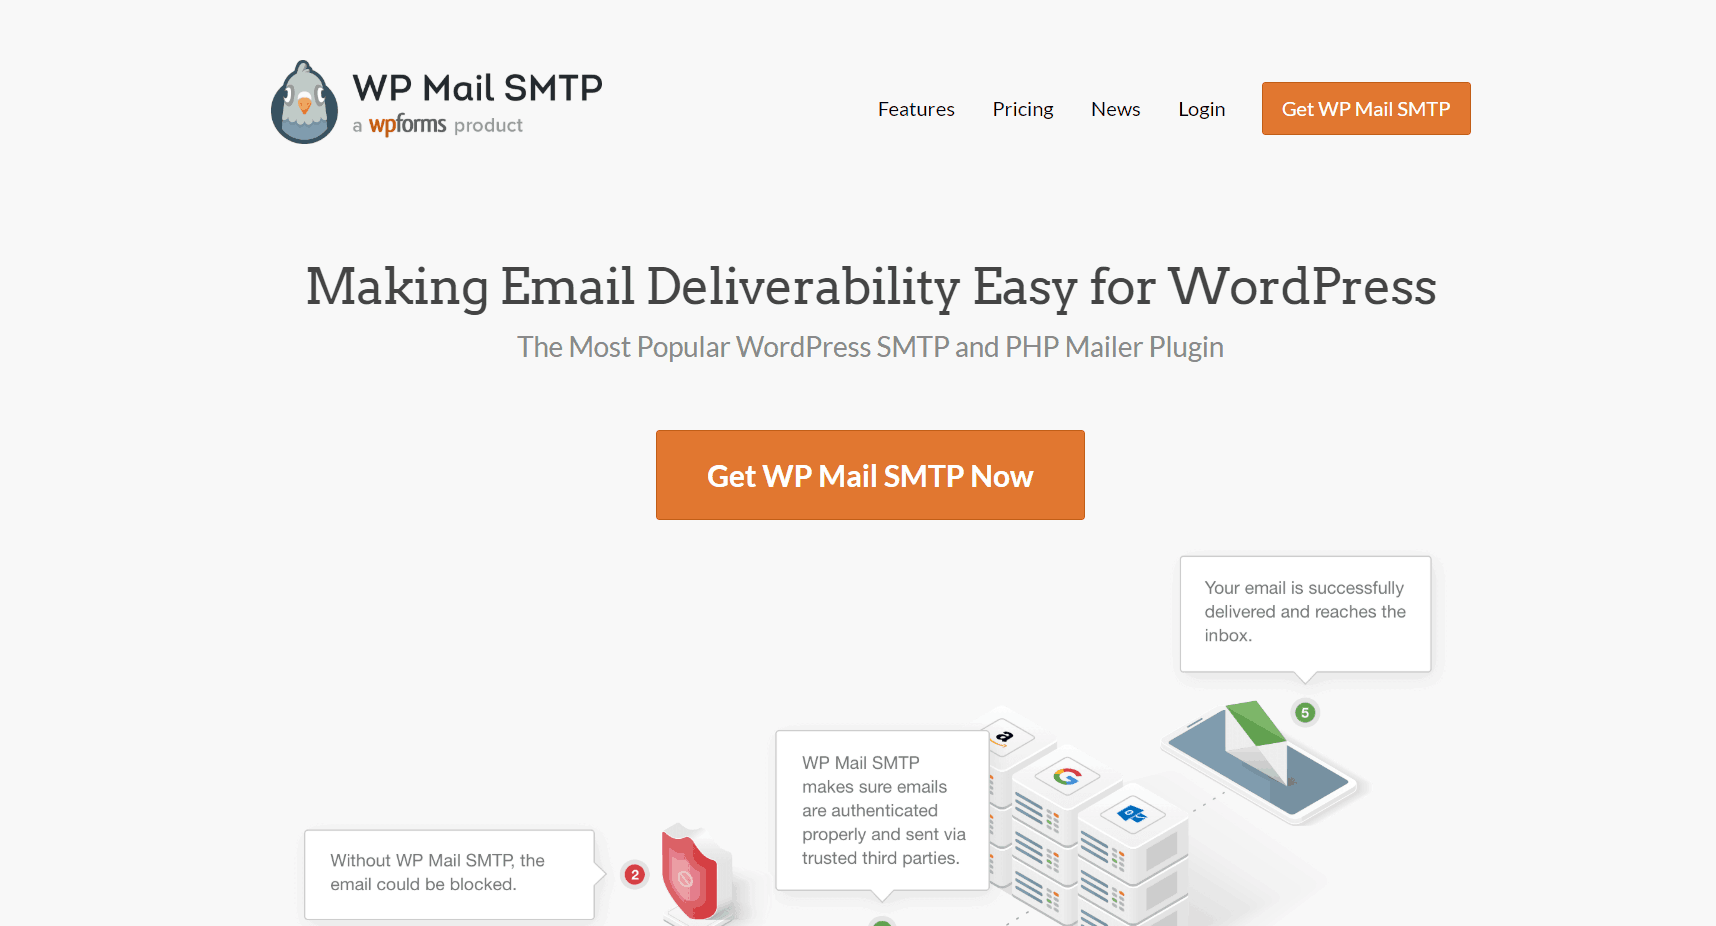
WP Mail SMTP
Right now, there are so many WordPress SMTP plugins are available. Well for our readers and all self-hosted WordPress users, we will recommend the best one – WP Mail SMTP.
WP Mail SMTP Lite can be downloaded from the WordPress plugins repository. More than 1 million folks are using the free version plugin on their blog. As you know the plugin is created by Awesome Motive. The same team behind OptinMonster, WPForms, MonsterInsights, SeedProd, etc…
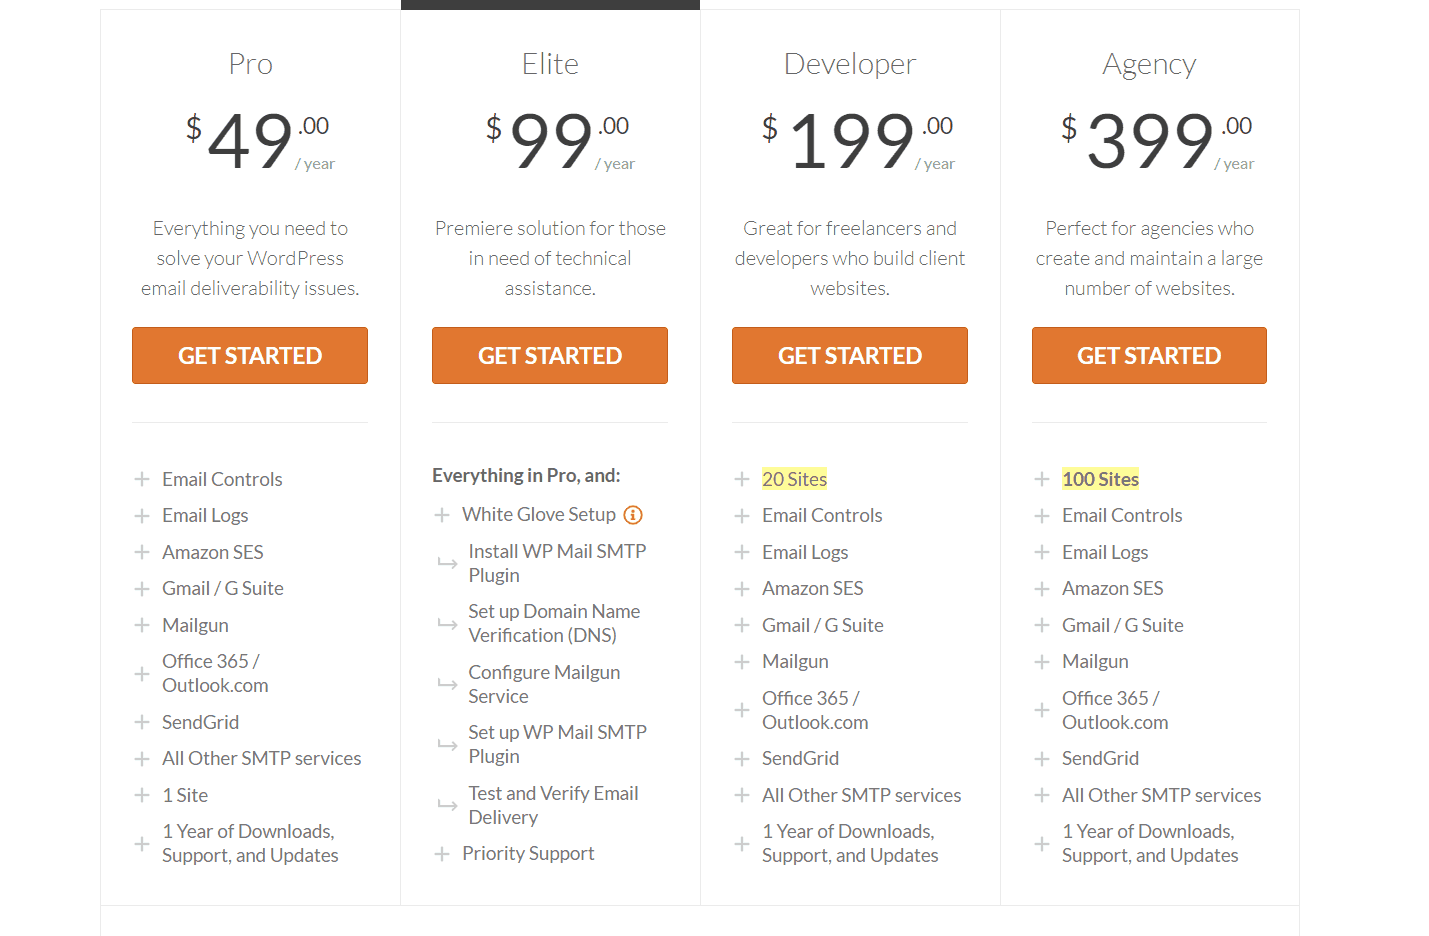
WP Mail SMTP Pricing
The free version plugin is free for a lifetime. When you need more features, you might want to consider upgrading it to a premium solution. And right now, there are 4 premium plans are available.
- Pro – $49 a Year.
- Elite – $99 a Year.
- Developer – $199 a Year.
- Agency – $399 a Year.
Elite plan and other top plans come with a feature called White Glove Setup. There, the team will help you to configure everything for you. All you need to do is, give them access, sit back and relax.
How To Integrate WP Mail SMTP With Amazon SES?
So, let’s move to the tutorial.
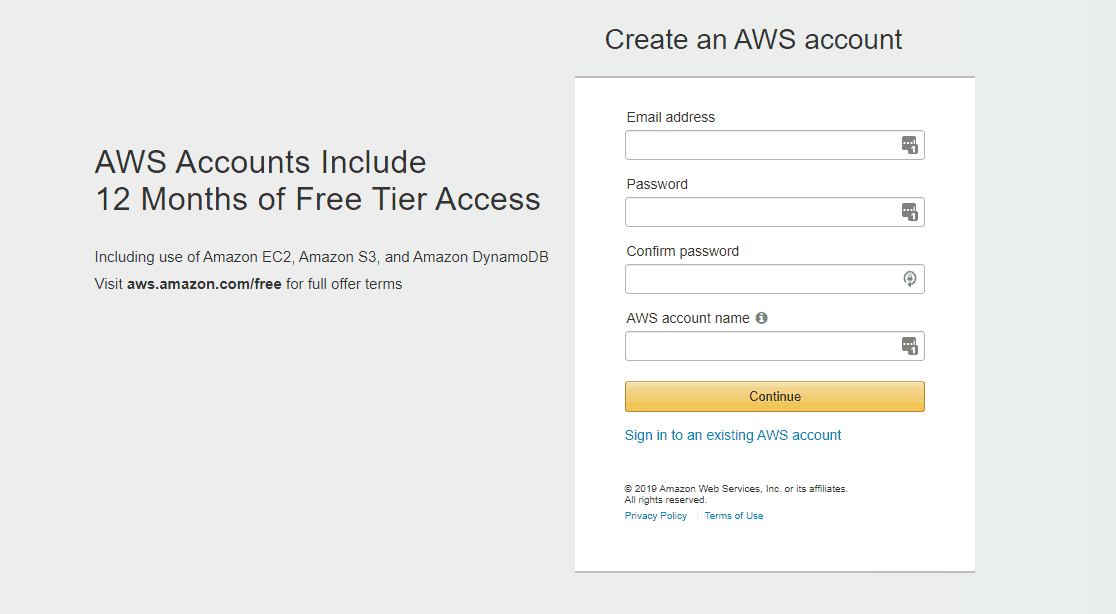
The first thing you need to do is, create an AWS account. If you already have one, that’s great! You can log in to your Amazon AWS account.
You might want to enter your credit card details for completing the setup. The process is free and you don’t need to pay them anything/ they won’t charge you for it.
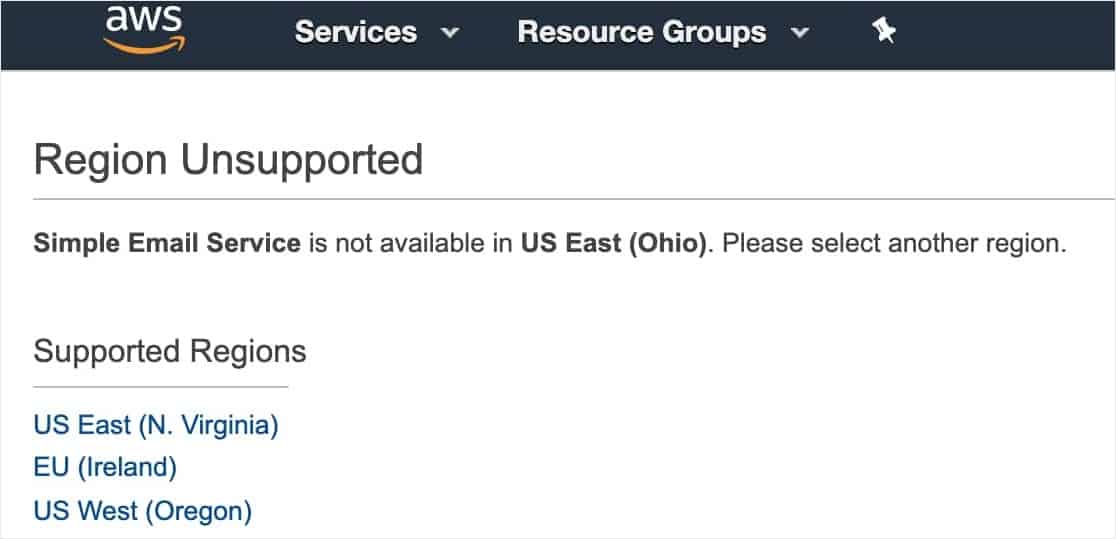
Next thing is, choose a region.
According to your address, AWS will choose the best region for you. If they are not sure about it, you might want to do it manually.
You have successfully created an Amazon AWS account. Now, let’s move forward and log in to the IAM account. You could easily use your Amazon AWS account credentials for that.
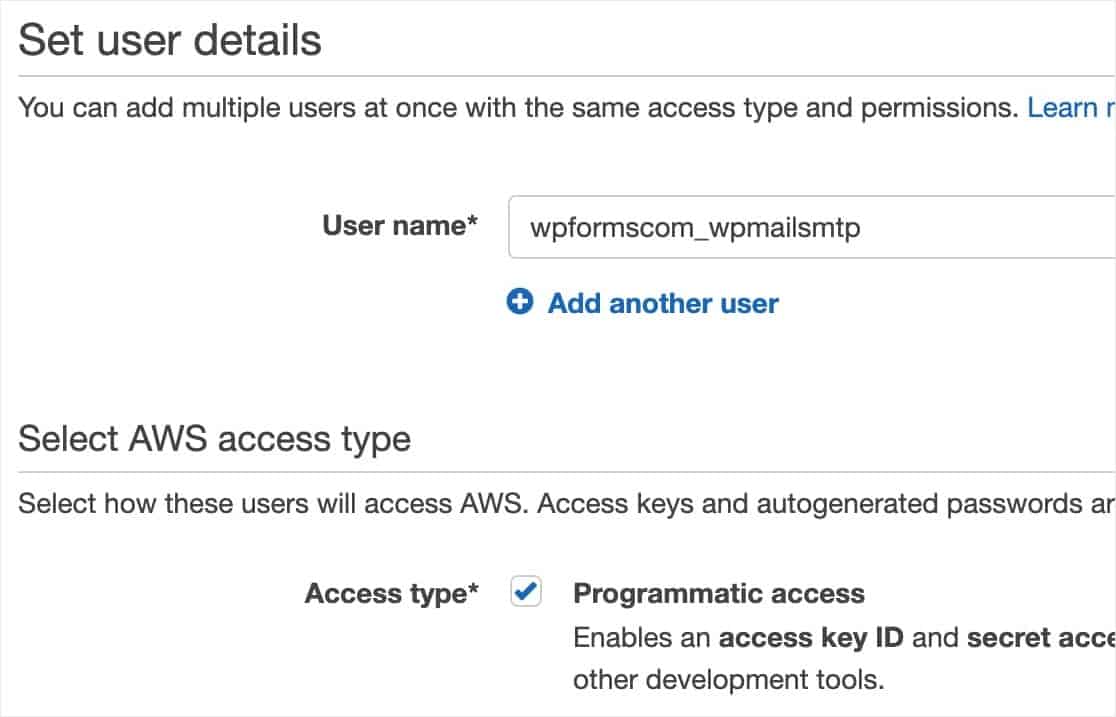
After signing in to your account, you need to add a new user. Name your account. In the username field, you could always use anything you want.
For example, we are going with wpreviewstudio_wpmailsmtp.
Also, make sure that you have marked the account as a programmatic access type.
Move to the permission configuration.
You will be redirected to a page like this.
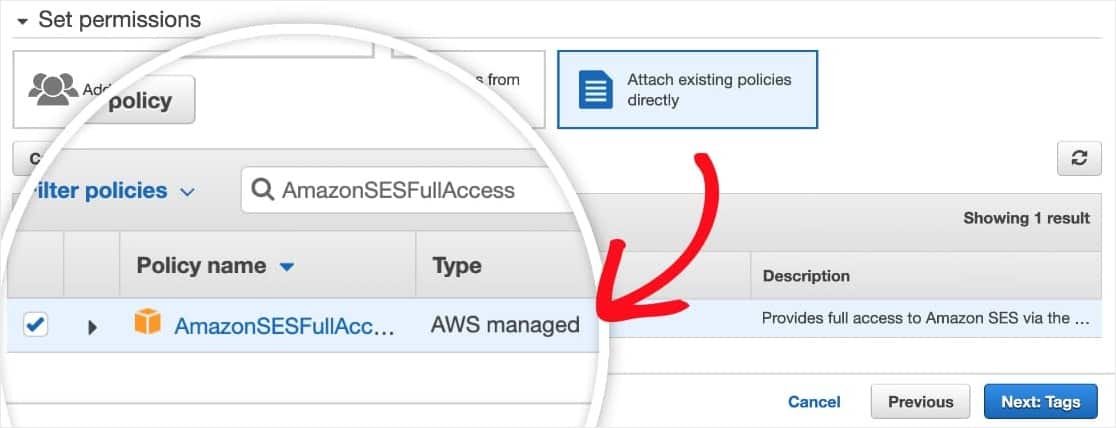
Search for the AmazonSESFullAccess policy there. Make sure that the permission is enabled for the user. Go to the tags page. You don’t want to make huge changed in that configuration. So, you can easily skip that configuration, move to the review section.
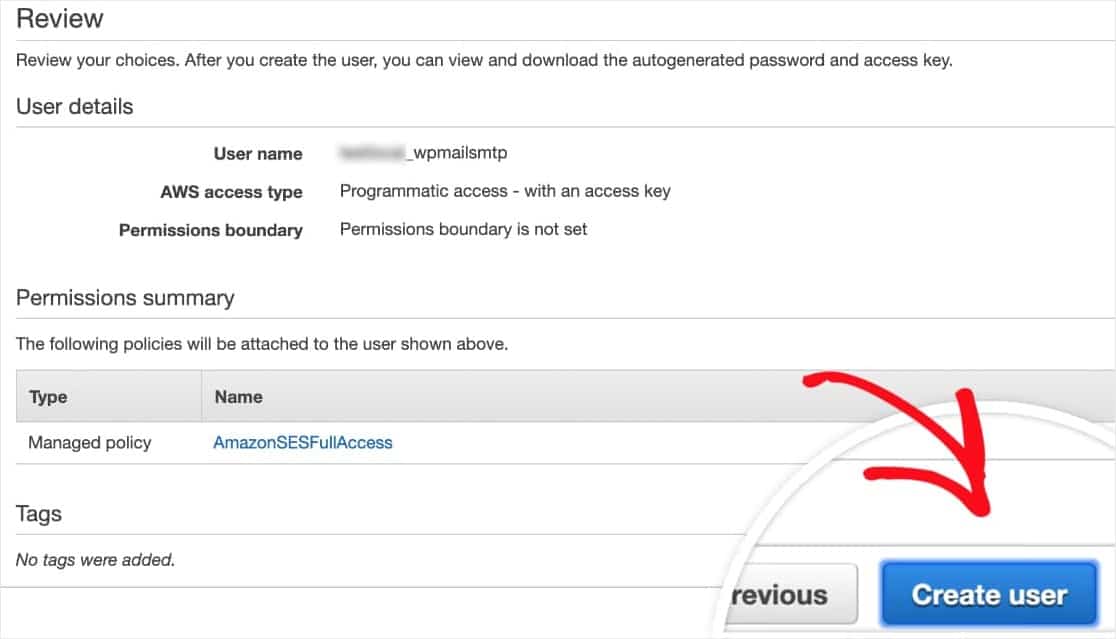
Take a look at your account configuration. If you are good to go, click on the create user button.
Within a minute, you will see a success message, an access key ID, secret access key for this user. Do not close this page. We need them soon.
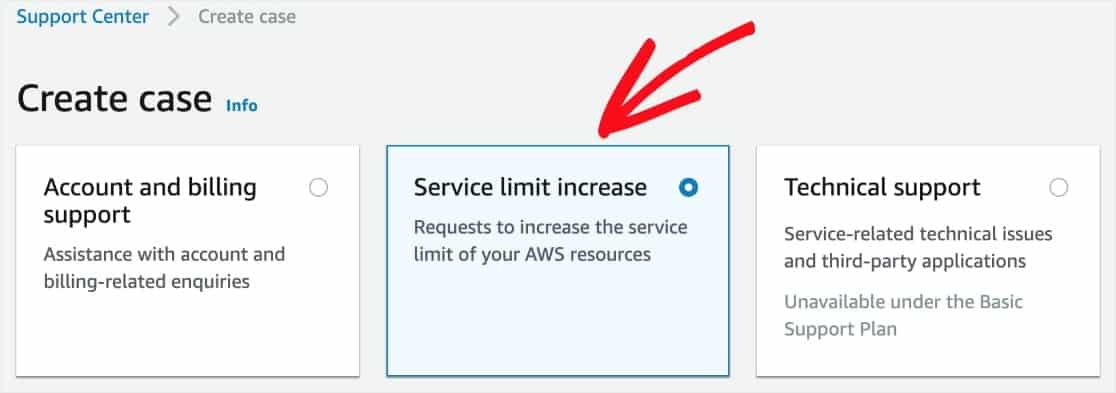
By default, every AWS accounts will be in the sandbox mode. You need to switch it into production. Click on this link and choose the service limit increase option.
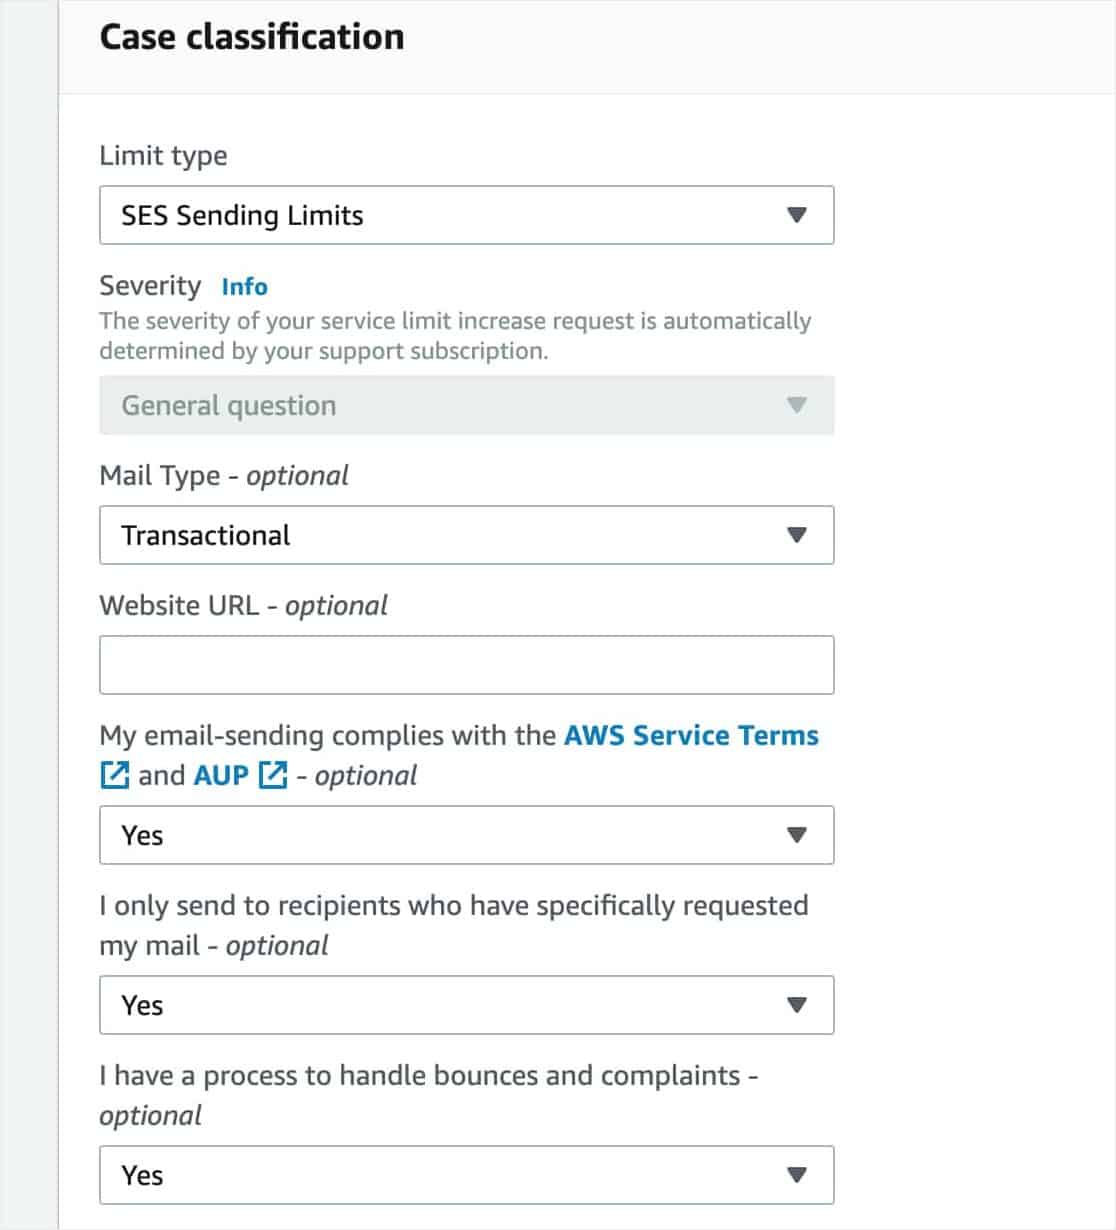
A form will appear on the page. You need to fill it.
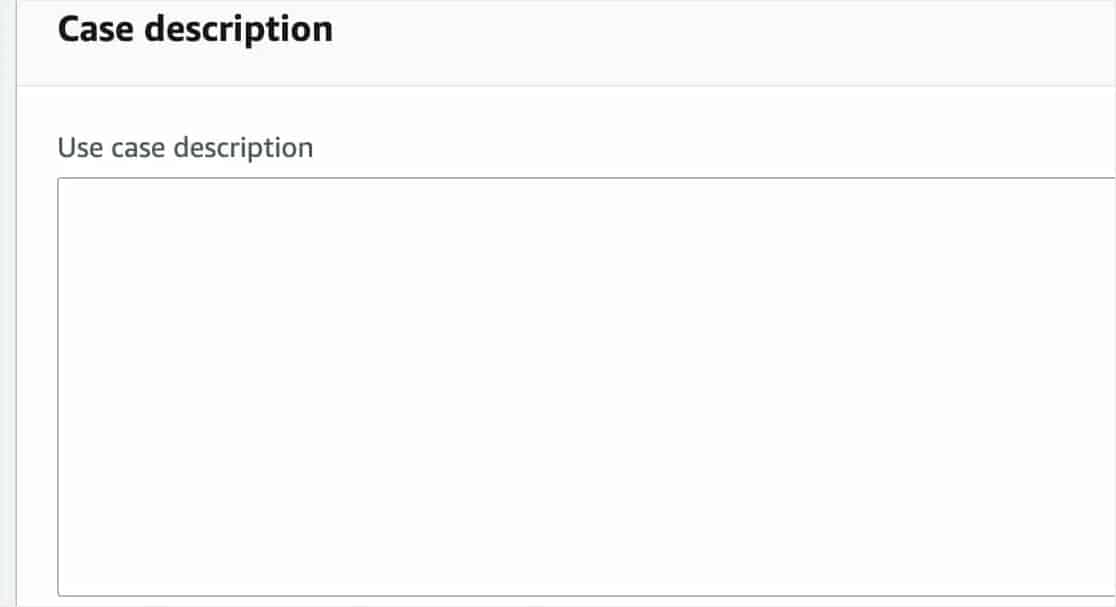
In the case description box, be descriptive.
After adding information on that page, simply submit the form. Within a business day, you will hear back from the team. Well, we can still move forward, integrate WP Mail SMTP with Amazon SES!
Install and Activate WP Mail SMTP
Log in to your WP Mail SMTP account and download the latest, premium version of the plugin. After downloading the plugin, log in to your WordPress blog, go to add new plugins section, install and activate the plugin. Verify the plugin with a valid license key.
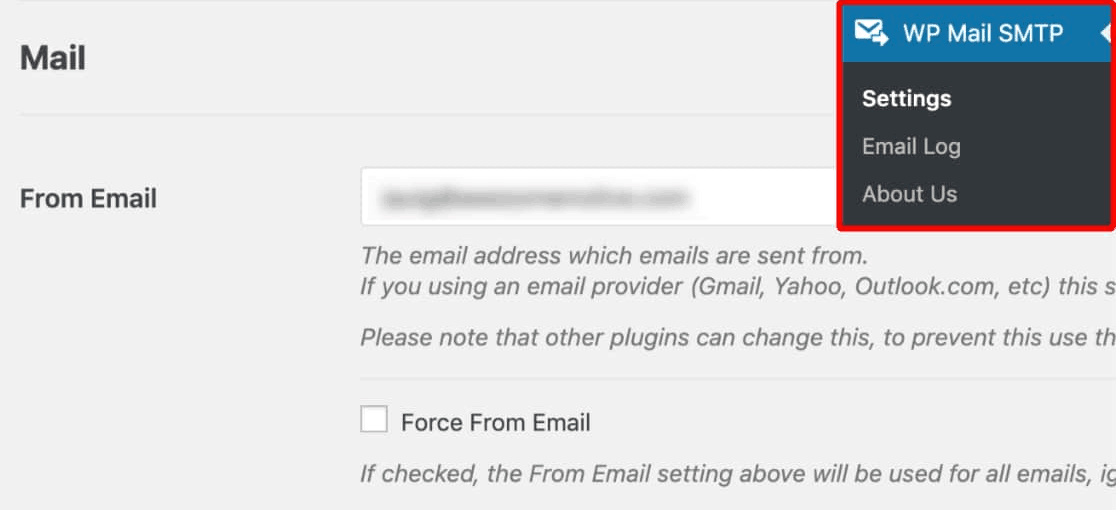
And after that, go to the settings, choose the from email.
The from name,
and choose Amazon SES as the mailer option.
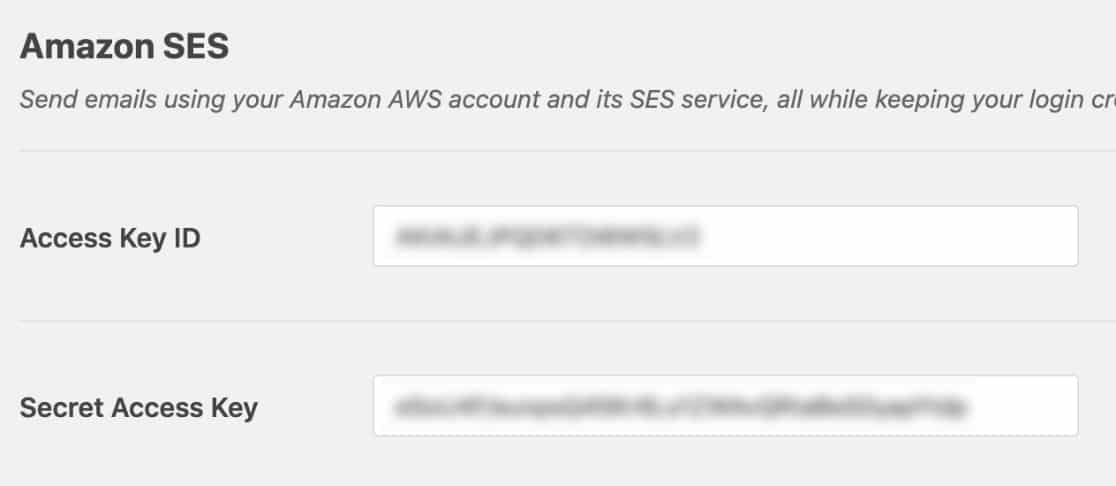
From your AWS account, retrieve the access key ID and secret access key. Paste them in the WP Mail SMTP submit box.
Choose the region.
You are done! Save the settings.
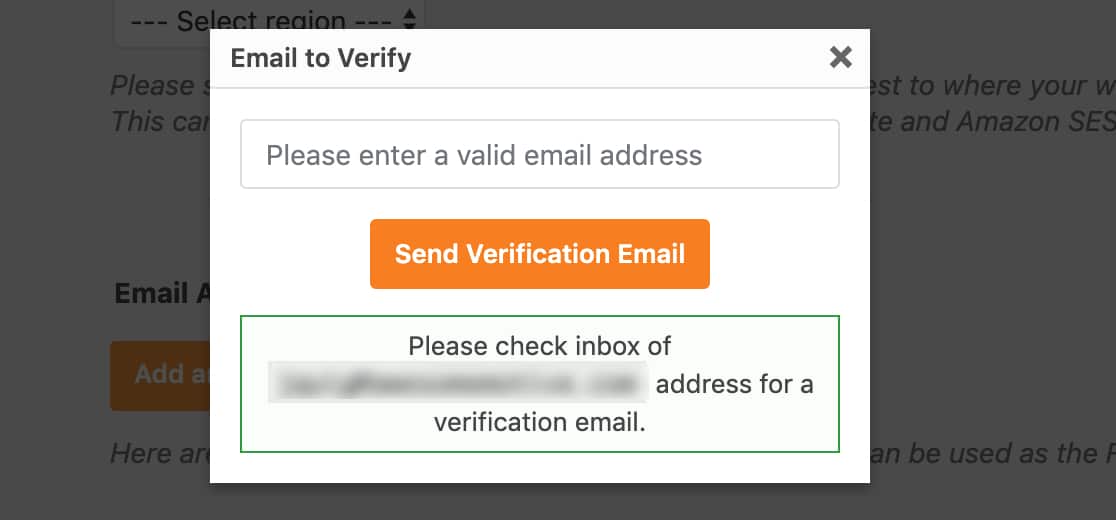
If you would like to add more from emails to your blog, settings will appear.
The plugin will send a verification email to the email address.
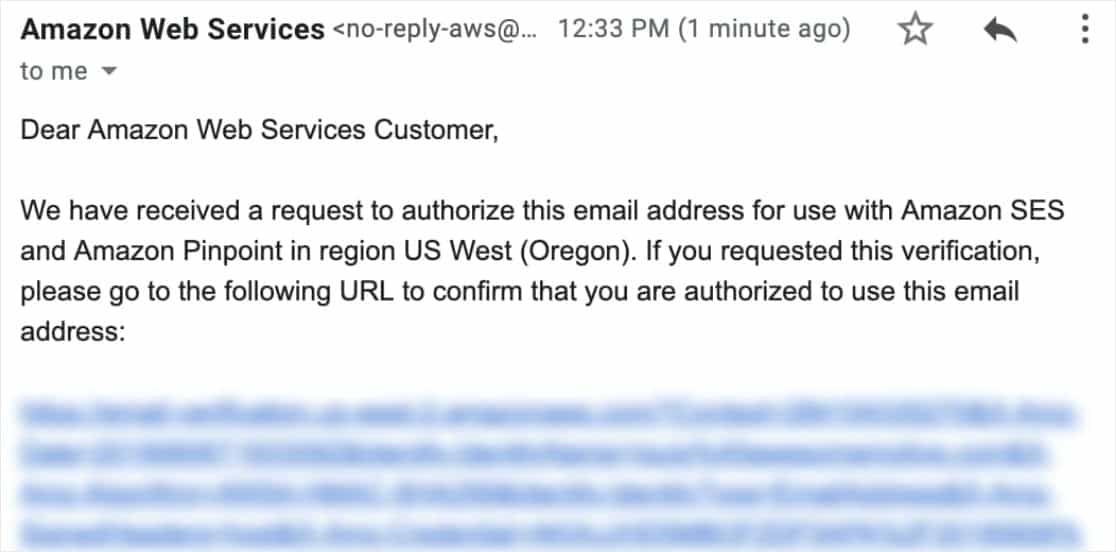
Click on the verification link that you just got.
And you will see the email address as verified in the WP Mail SMTP settings.
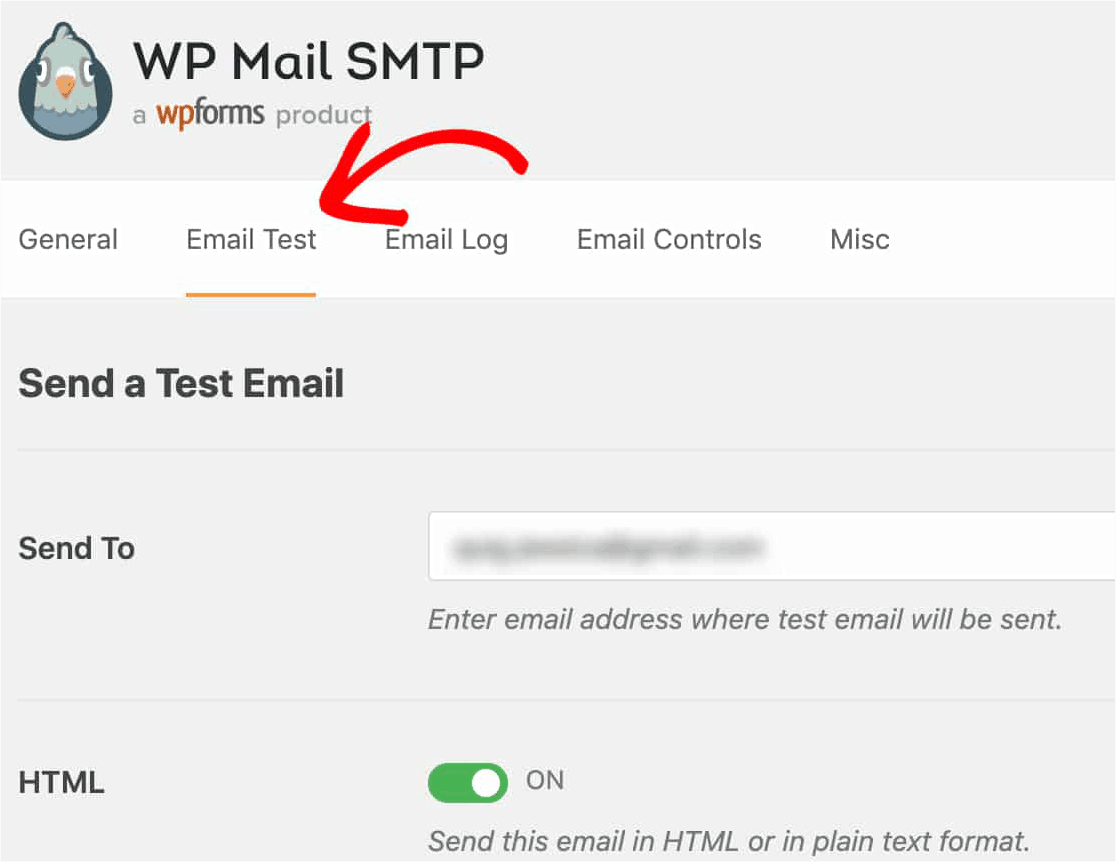
Now, it is time to send a test email.
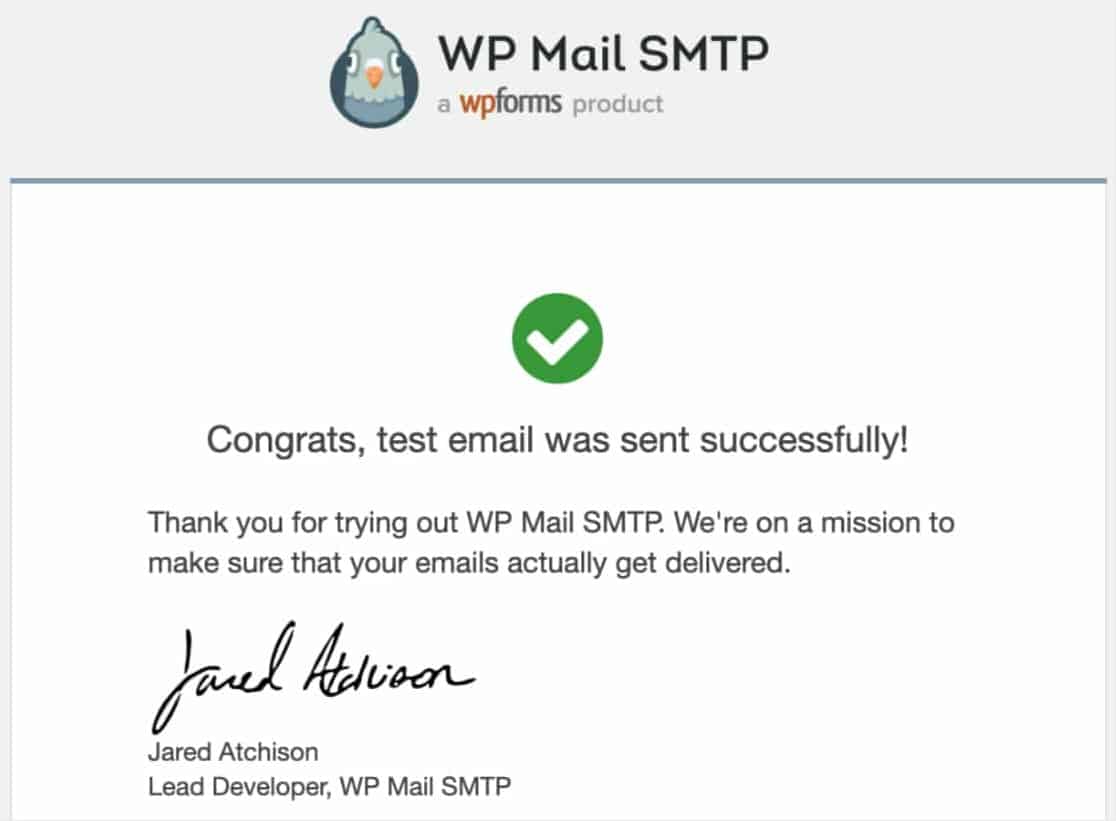
Enter the email address in the field and send it. You will receive a sample email in your inbox.
If you got this email, every configuration is working fine. If you haven’t received anything, something is not working fine. When you have a premium copy of the plugin, you can easily contact the WP Mail SMTP support team. They will help you with it.
Simple isn’t it?
Get Started With WP Mail SMTP
You can get started with the WP Mail SMTP premium from below.
This is how you can easily integrate WP Mail SMTP with Amazon SES. Have you enjoyed the read?
If you did, please consider sharing this post with your friends and fellow blogger on social media. As you thought, it will probably help someone to configure the plugin in the right way!







Leave a Reply