
Self-hosted WordPress is used by a good amount of websites worldwide. It is easier, powerful than any other CMS (content management system) available. So, creating a website with the self-hosted WordPress won’t be a hard task. With the proper plugins, we will be able to turn our site to an online store: membership website or anything you want.
While you need to accept payments on your blog, you will probably land upon so many payment gateways. But integrating them with your WordPress blog might be a hard task. Hiring developers for the integration will cost you additional expenses.
Anyway, if you are planning to accept payments through PayPal on your WordPress blog, we have got something for you. In this article, we are going to show you how you can integrate PayPal with WPForms and collect payments right in your PayPal account.
WPForms
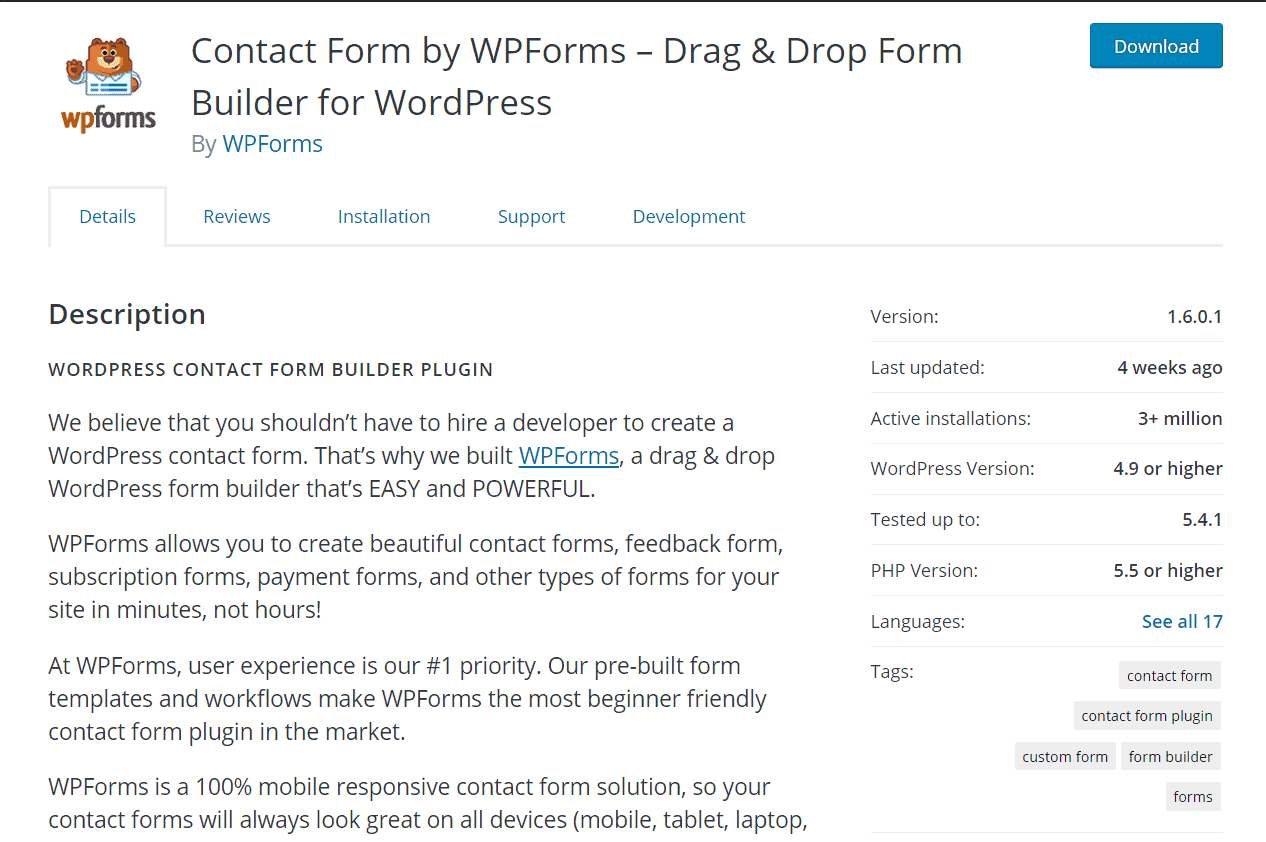
WPForms is one of the famous WordPress form builder plugin available on the internet. The same team behind popular plugins like OptinMonster, MonsterInsights, SeedProd created this plugin.
Awesome Motive makes this plugin as a freemium product. That means a free version plugin available with limited features on the WordPress repository. It’s called the WPForms Lite.
More than 3 million blogs are using this plugin for creating forms.
However, the premium version plugin comes with so many more and advanced features. Some of the premium features are file upload, conditional logic, spam protection, email logging, etc.
For PayPal integration, we might want to use the premium version of WPForms. You can read our review of WPForms for more.
WPForms Pricing
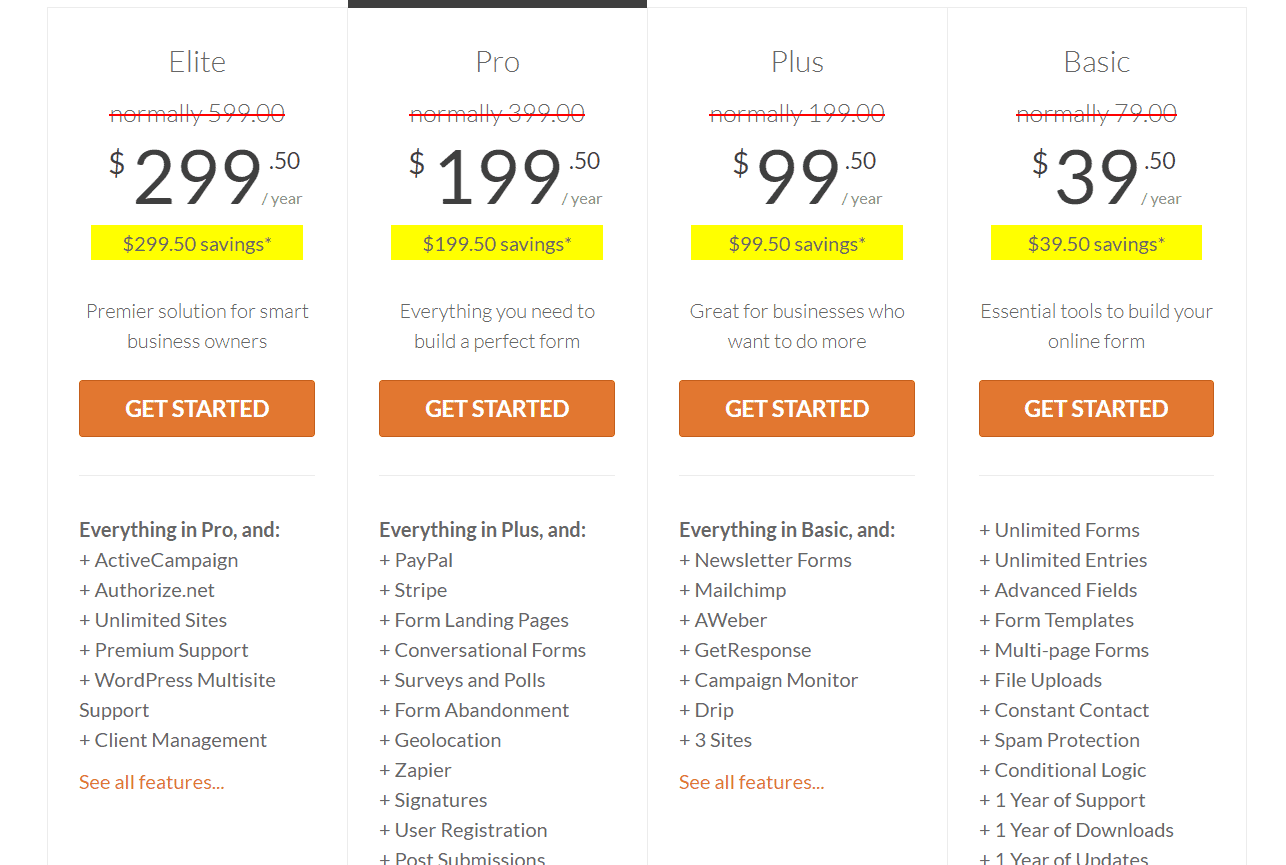
As of June 2020, they do have four premium pricing options.
- Basic – $39.50/ yr.
- Plus – $99.50/ yr.
- Pro – $199.50/ yr.
- Elite – $299.50/ yr.
You would need to purchase the Pro plan, at least for the PayPal add-on. With your PayPal account or credit card, you can proceed with the purchase. And once you have purchased the plugin, you will be able to log in to the WPForms account, download premium assets, etc.
How To Integrate PayPal With WPForms?
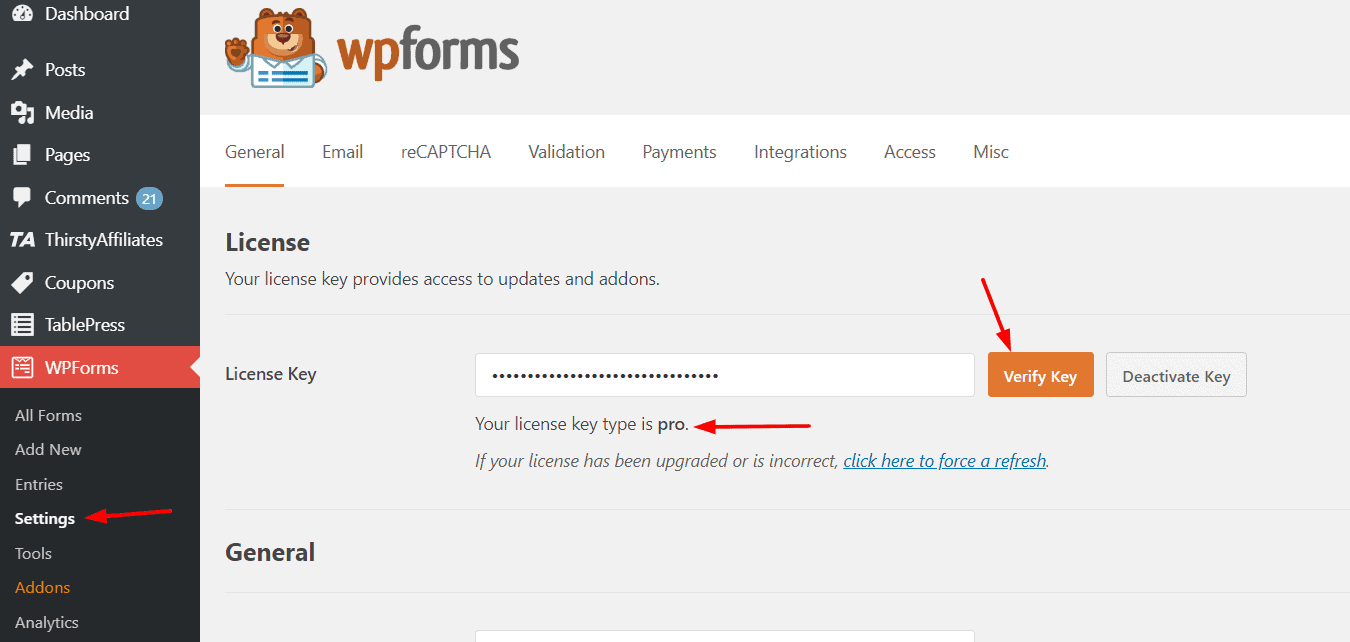
You will need to install the premium version WPForms on your blog. After activation, verify your license key. The license key can be found under your WPForms account.
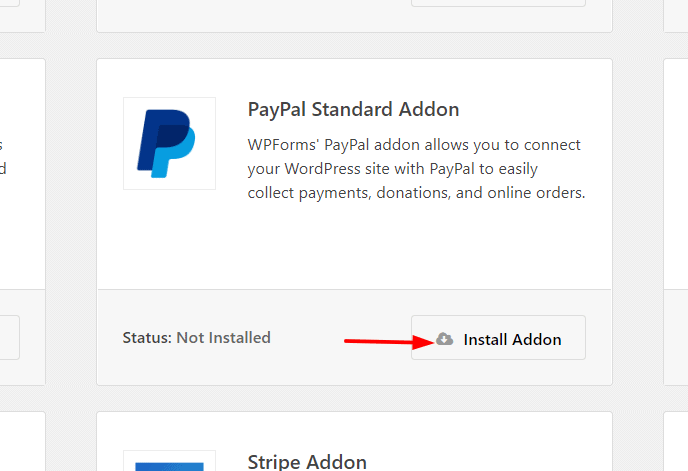
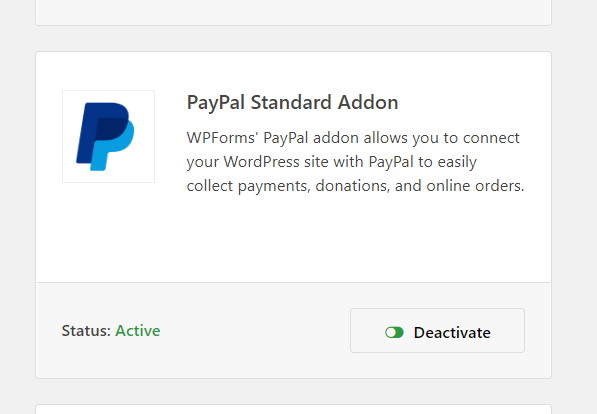
After verifying the key, you can get access to all their premium add-ons. The first thing you need to do is install their PayPal add-on.
Once you have installed the add-on on your blog, it will get activated instantly.
Now, we are good to go. From the form builder, we can create forms and integrate PayPal into it. Thankfully, WPForms comes with a feature called Form Templates. If you have activated it from the add-ons section, you can see hundreds of pre-made form templates there.
So, you can start from scratch or use any of the pre-made templates. The easiest way is probably to use the pre-made templates for your form. Those are 100% customizable.
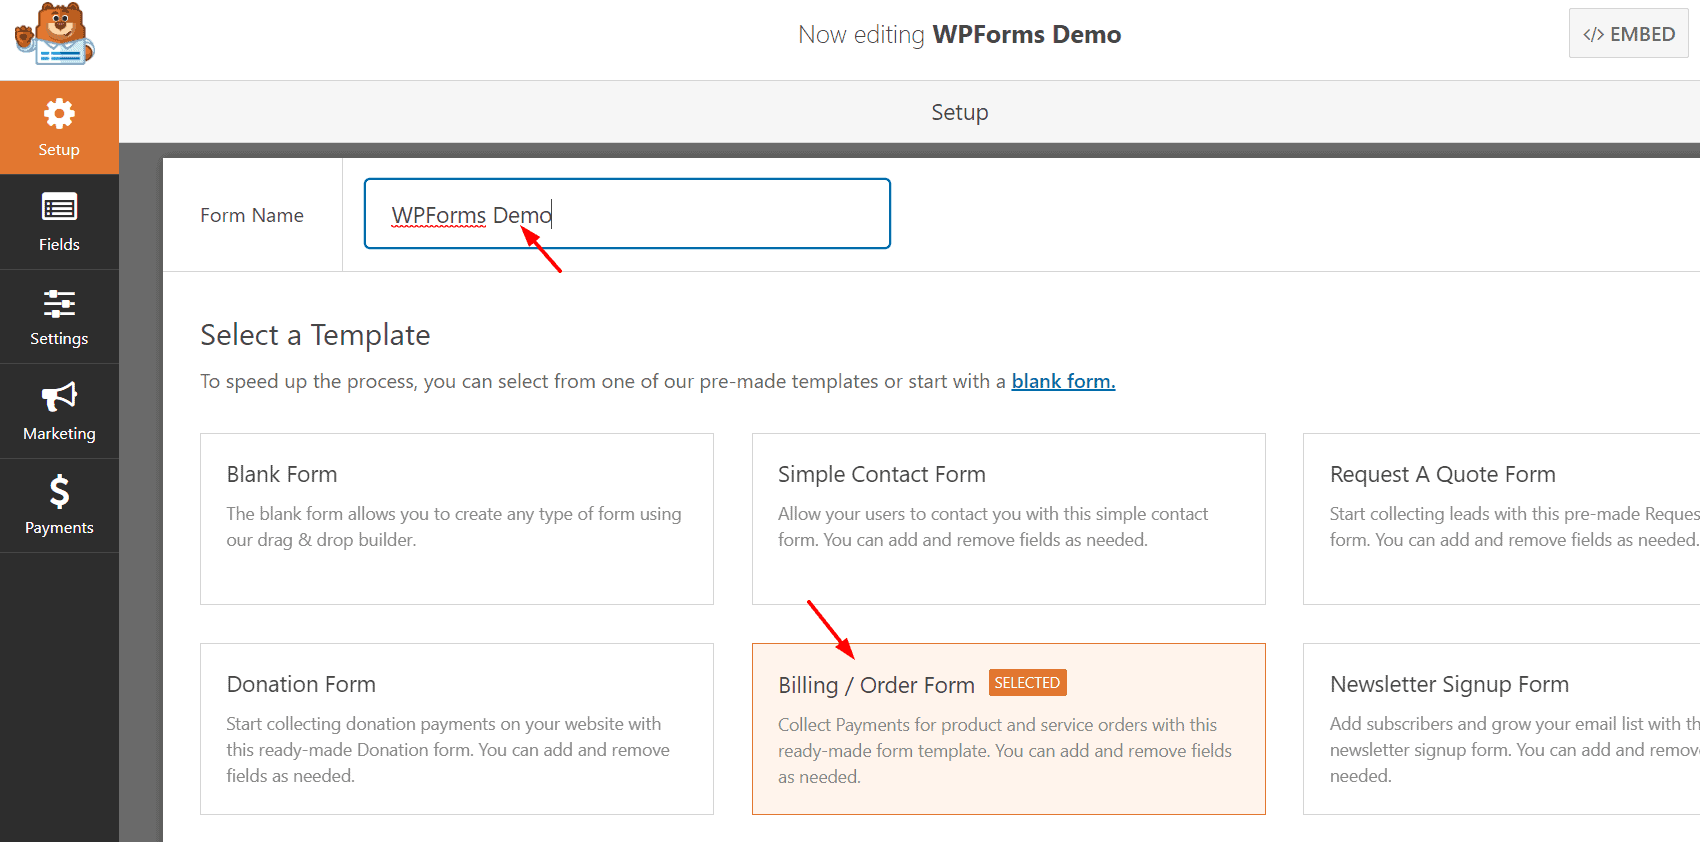
In our case, we will be using a billing/ order form as an example. You will need to give a name for your form, select the template you want.
The name can be anything. It won’t be visible at the website’s frontend.
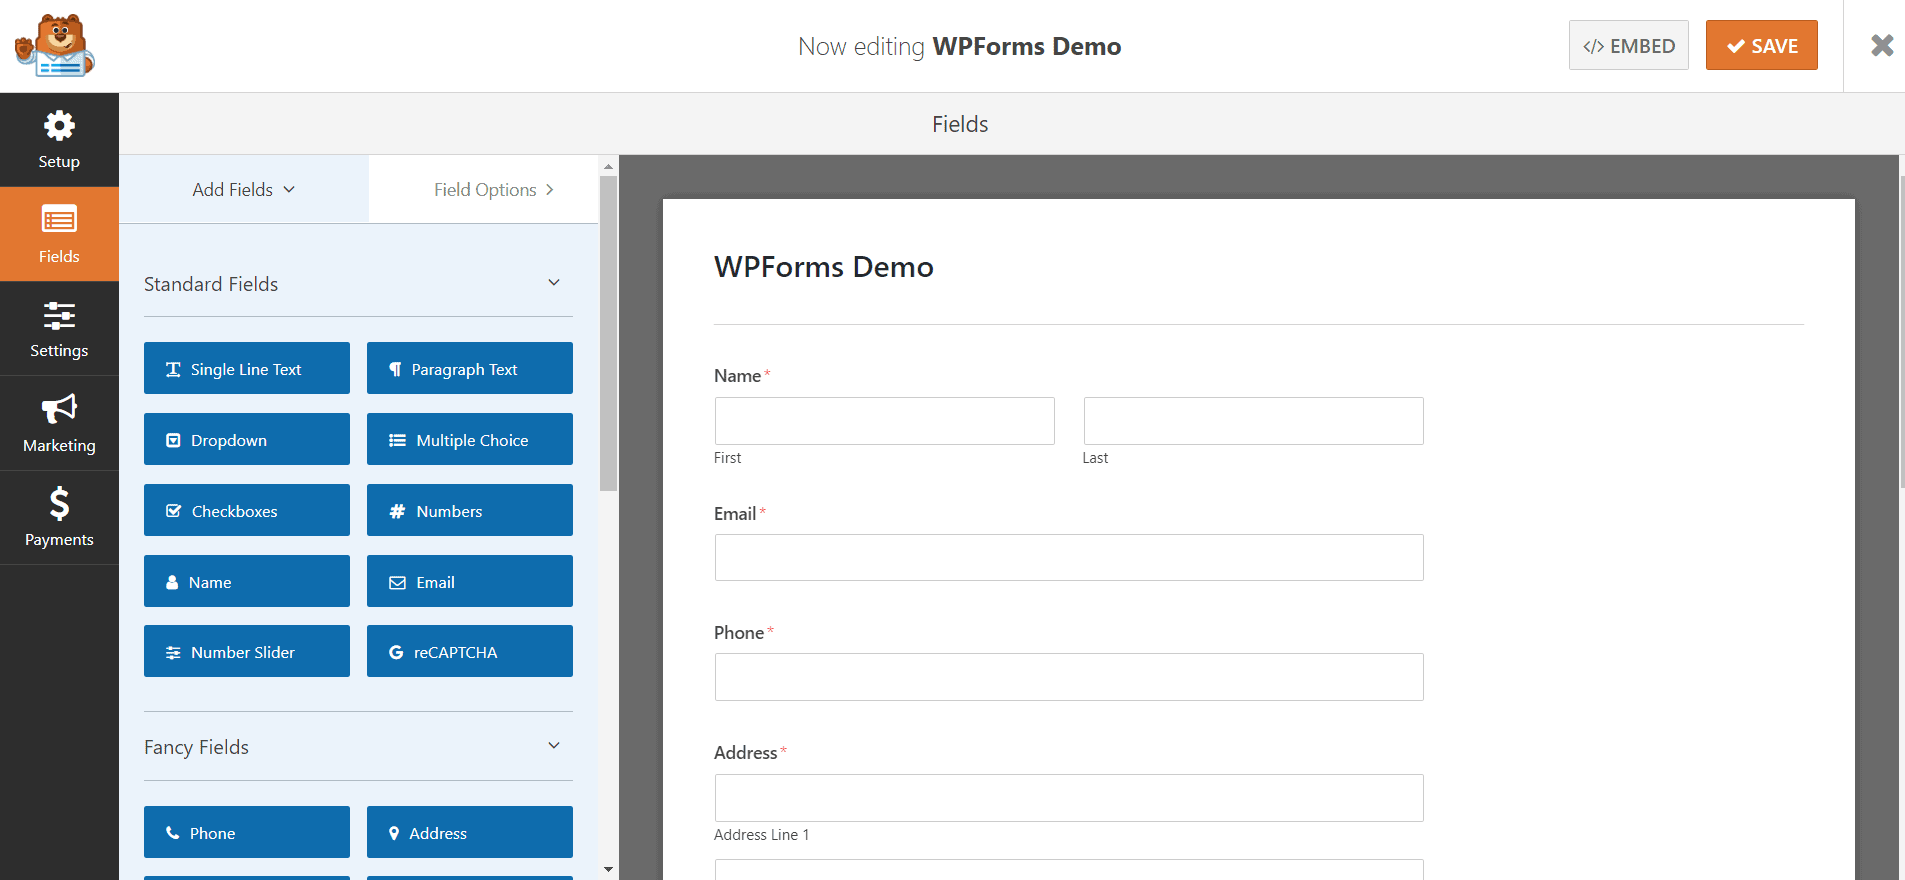
A typical billing form comes with fields like:
- Name.
- Email.
- Phone.
- Address.
- Items.
- Total.
- Message.
However, you can always remove fields from the form or add new fields from it. One important thing you need to consider is setting up the payment options.
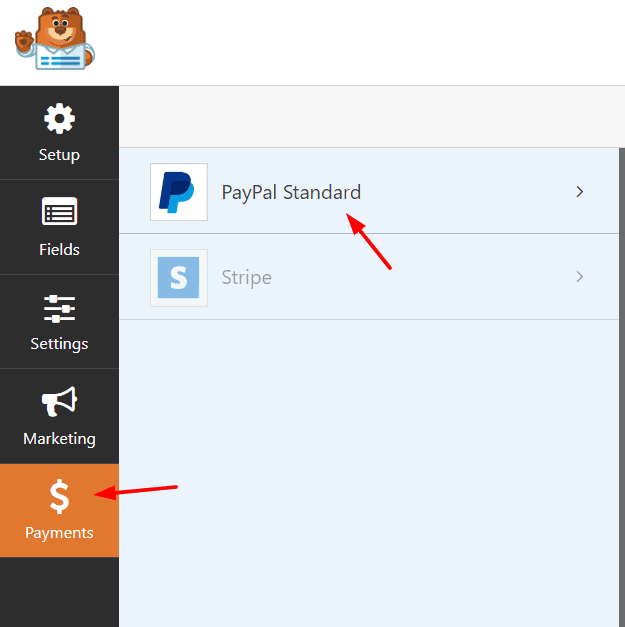
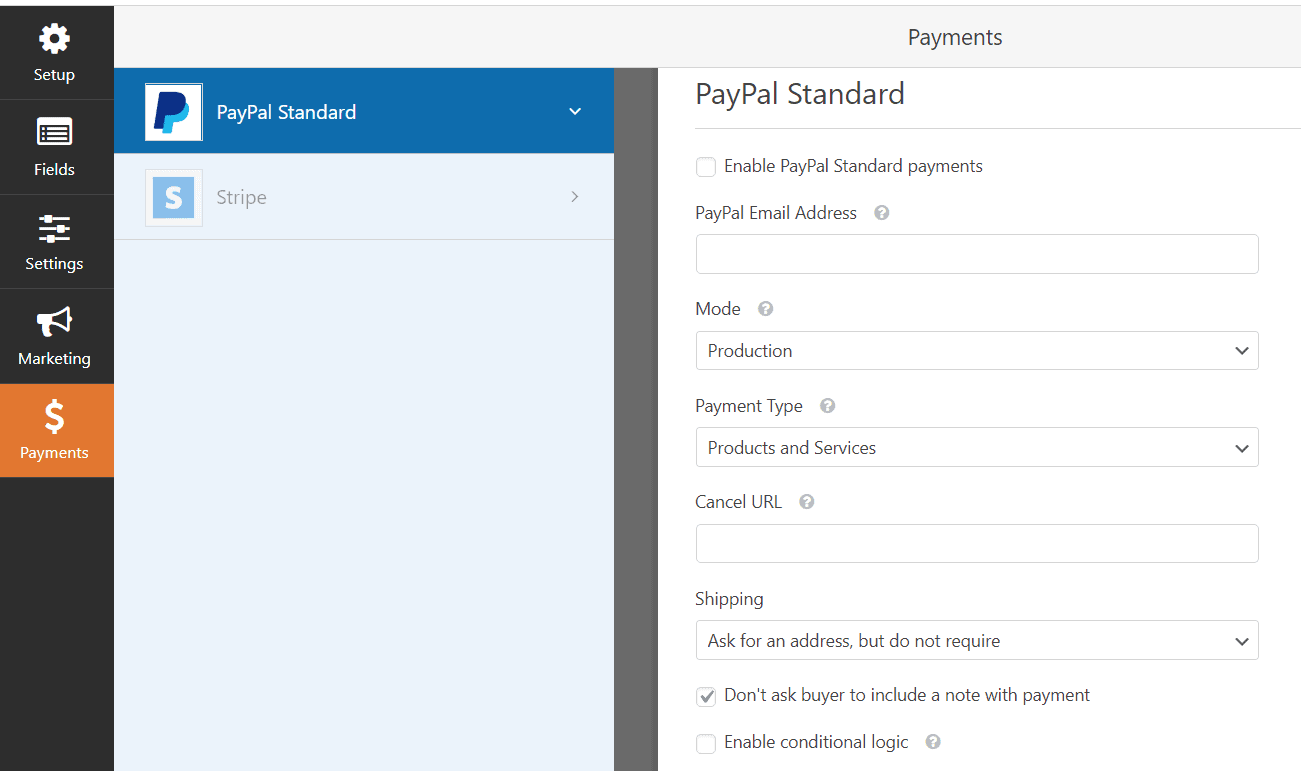
From the payments tab, you could see the PayPal standard add-on.
Select it, and you can see its configuration options.
Enter the email address that’s associated with your PayPal account. So when someone sends you a payment through the form, the amount will be credited to that PayPal account. Make sure that you are in the production mode when you go live. The test/ sandbox mode is using for debugging.
You can choose the payment type as products and services or as a donation. You can enter a cancel URL in the field also. This will be the landing page when a user failed to complete the payment. You can ask for the shipping address or do not ask for it. It might be a personal choice.
WPForms also comes with a robust feature called Conditional Logic. If you wish to make your forms more powerful, you can enable it, configure everything accordingly.
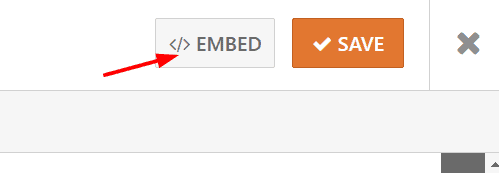
After making these changes, you will need to save the form. You can get the WPForms shortcode from the EMBED section.
Thankfully, WPForms also optimized for the Gutenberg. You can simply use the WPForms block for embedding the form to your WordPress websites’ page/ post or even custom post type.
And after adding the shortcode/ block, you will need to publish the page. If you check the frontend, you can see the live form. And when someone sends you a payment through the form, it will be deposited on your PayPal account.
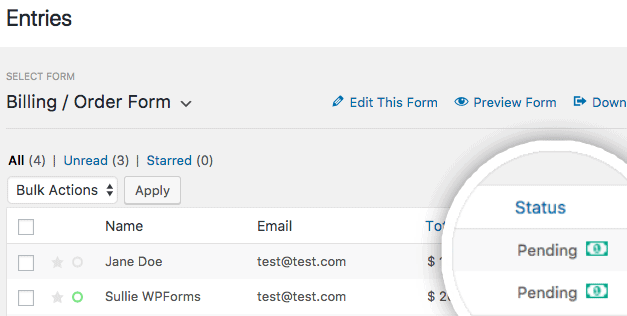
WPForms also comes with a feature called Entries. From there, you can see all the form submissions.
Pretty cool, right?
This way, you can integrate PayPal with WPForms. As you can see, no need for any coding, any other techy skills.
Get Started With WPForms
You can get the premium version of WPForms from below.
So this is how you can integrate PayPal with WPForms. We hope you have found this article helpful and enjoyed the read. If you did, please consider sharing this post with your friends and fellow bloggers on social media.
You can see more WordPress tutorials from our website.



Leave a Reply